Infrastructure ·
TON: From vesting contract to nominator
Taking a TON vesting contract through to acting as a nominator.
This guide would show you the following:
- How to create a vesting contract in TON network.
- How to join a single nominator pool with your vested token.
How to create a vesting contract in TON network.
TON has provided a vesting manager for everything related to vesting contract.
Vesting Manager Mainnet: https://vesting.ton.org/ Vesting Manager Testnet: https://vesting.ton.org/?testnet=true Vesting Manager Website source code: https://github.com/ton-blockchain/vesting Vesting Contract source code: https://github.com/ton-blockchain/vesting-contract
1. Create a vesting contract
Before performing any other action, you should connect your wallet to this manager.
- After connected, it should look something like this (top right "Connect Wallet" replaced with your wallet address):
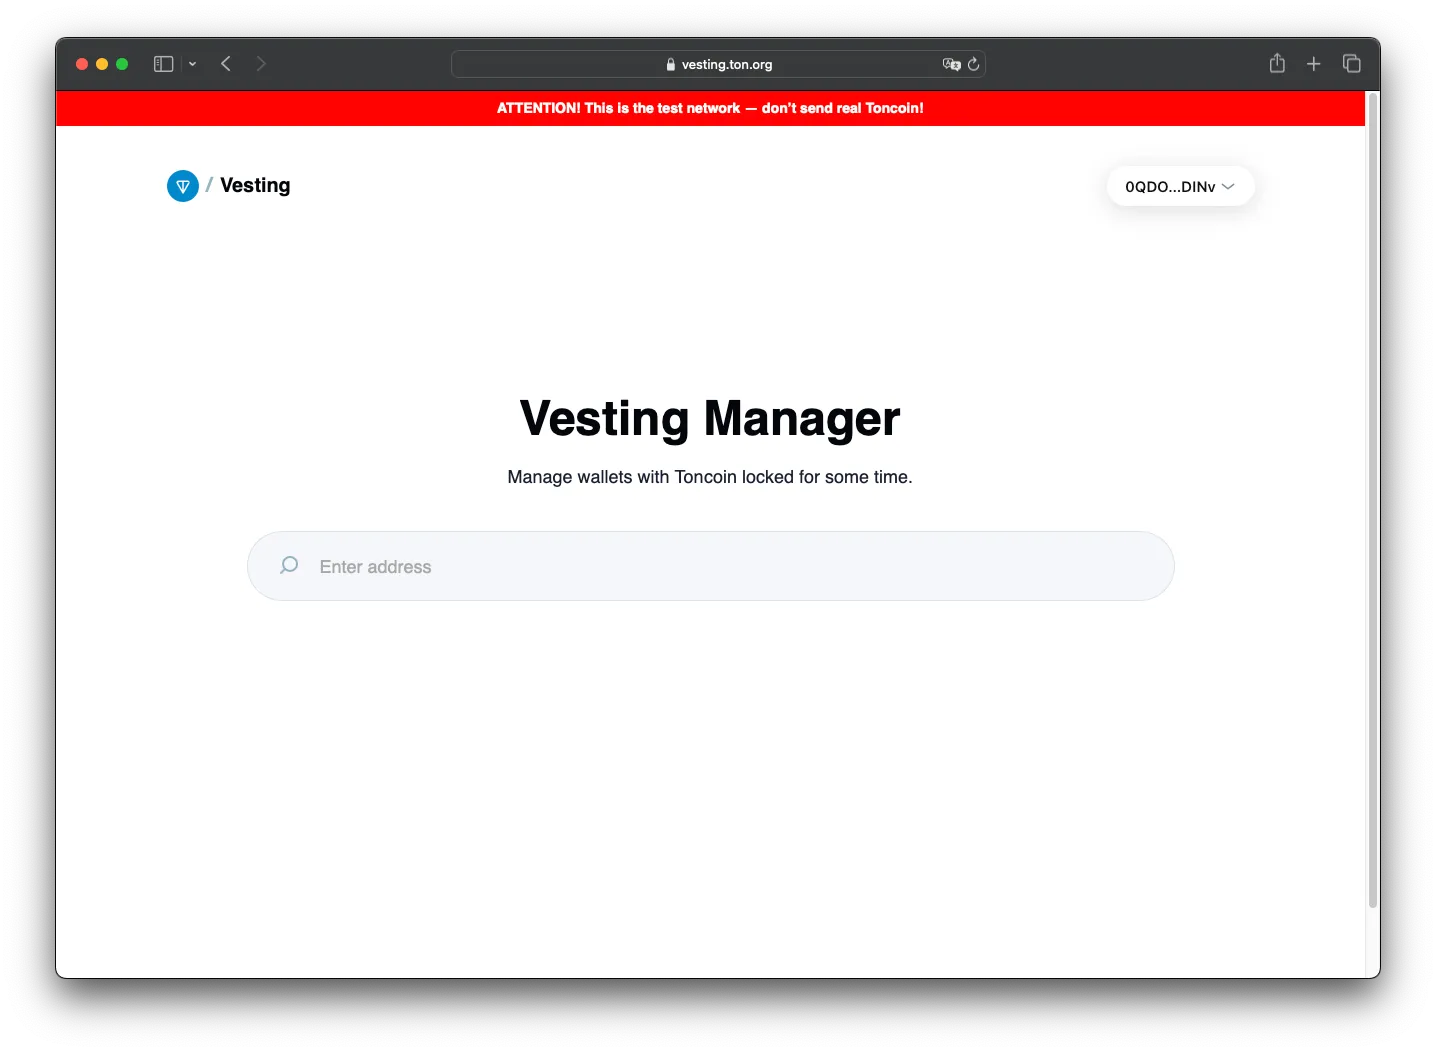
- Hence, paste the vesting receiver's wallet address in the search bar, hit enter, you should now be able to see this page:
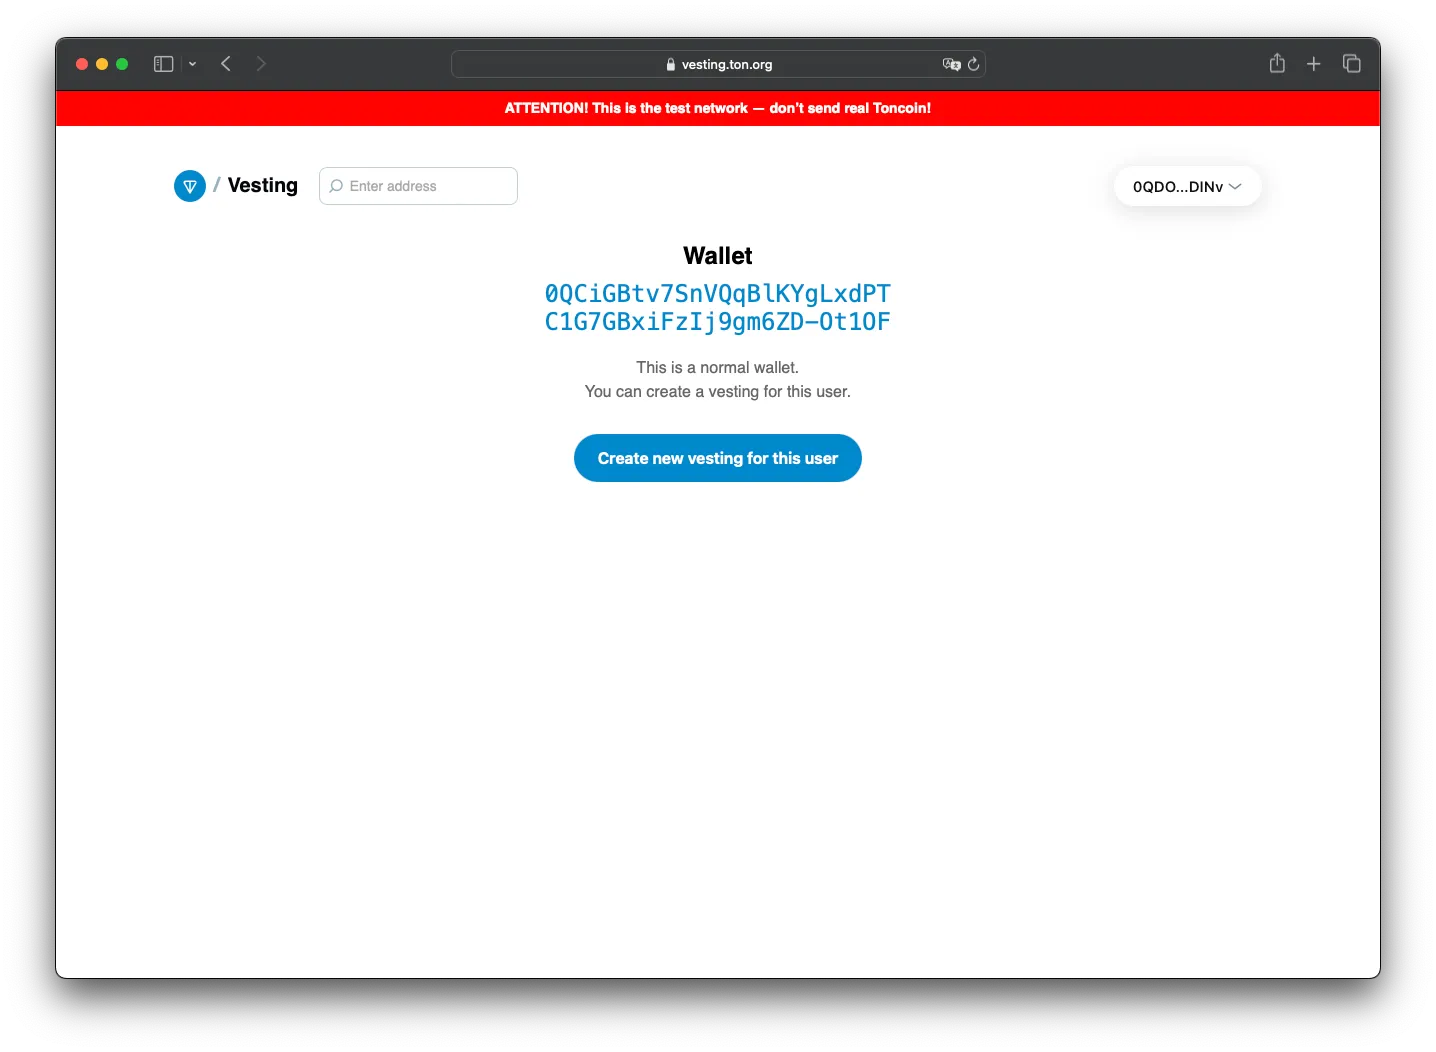
- After clicking "Create new vesting for this user", fill the blanks with your desired parameters for this vesting:
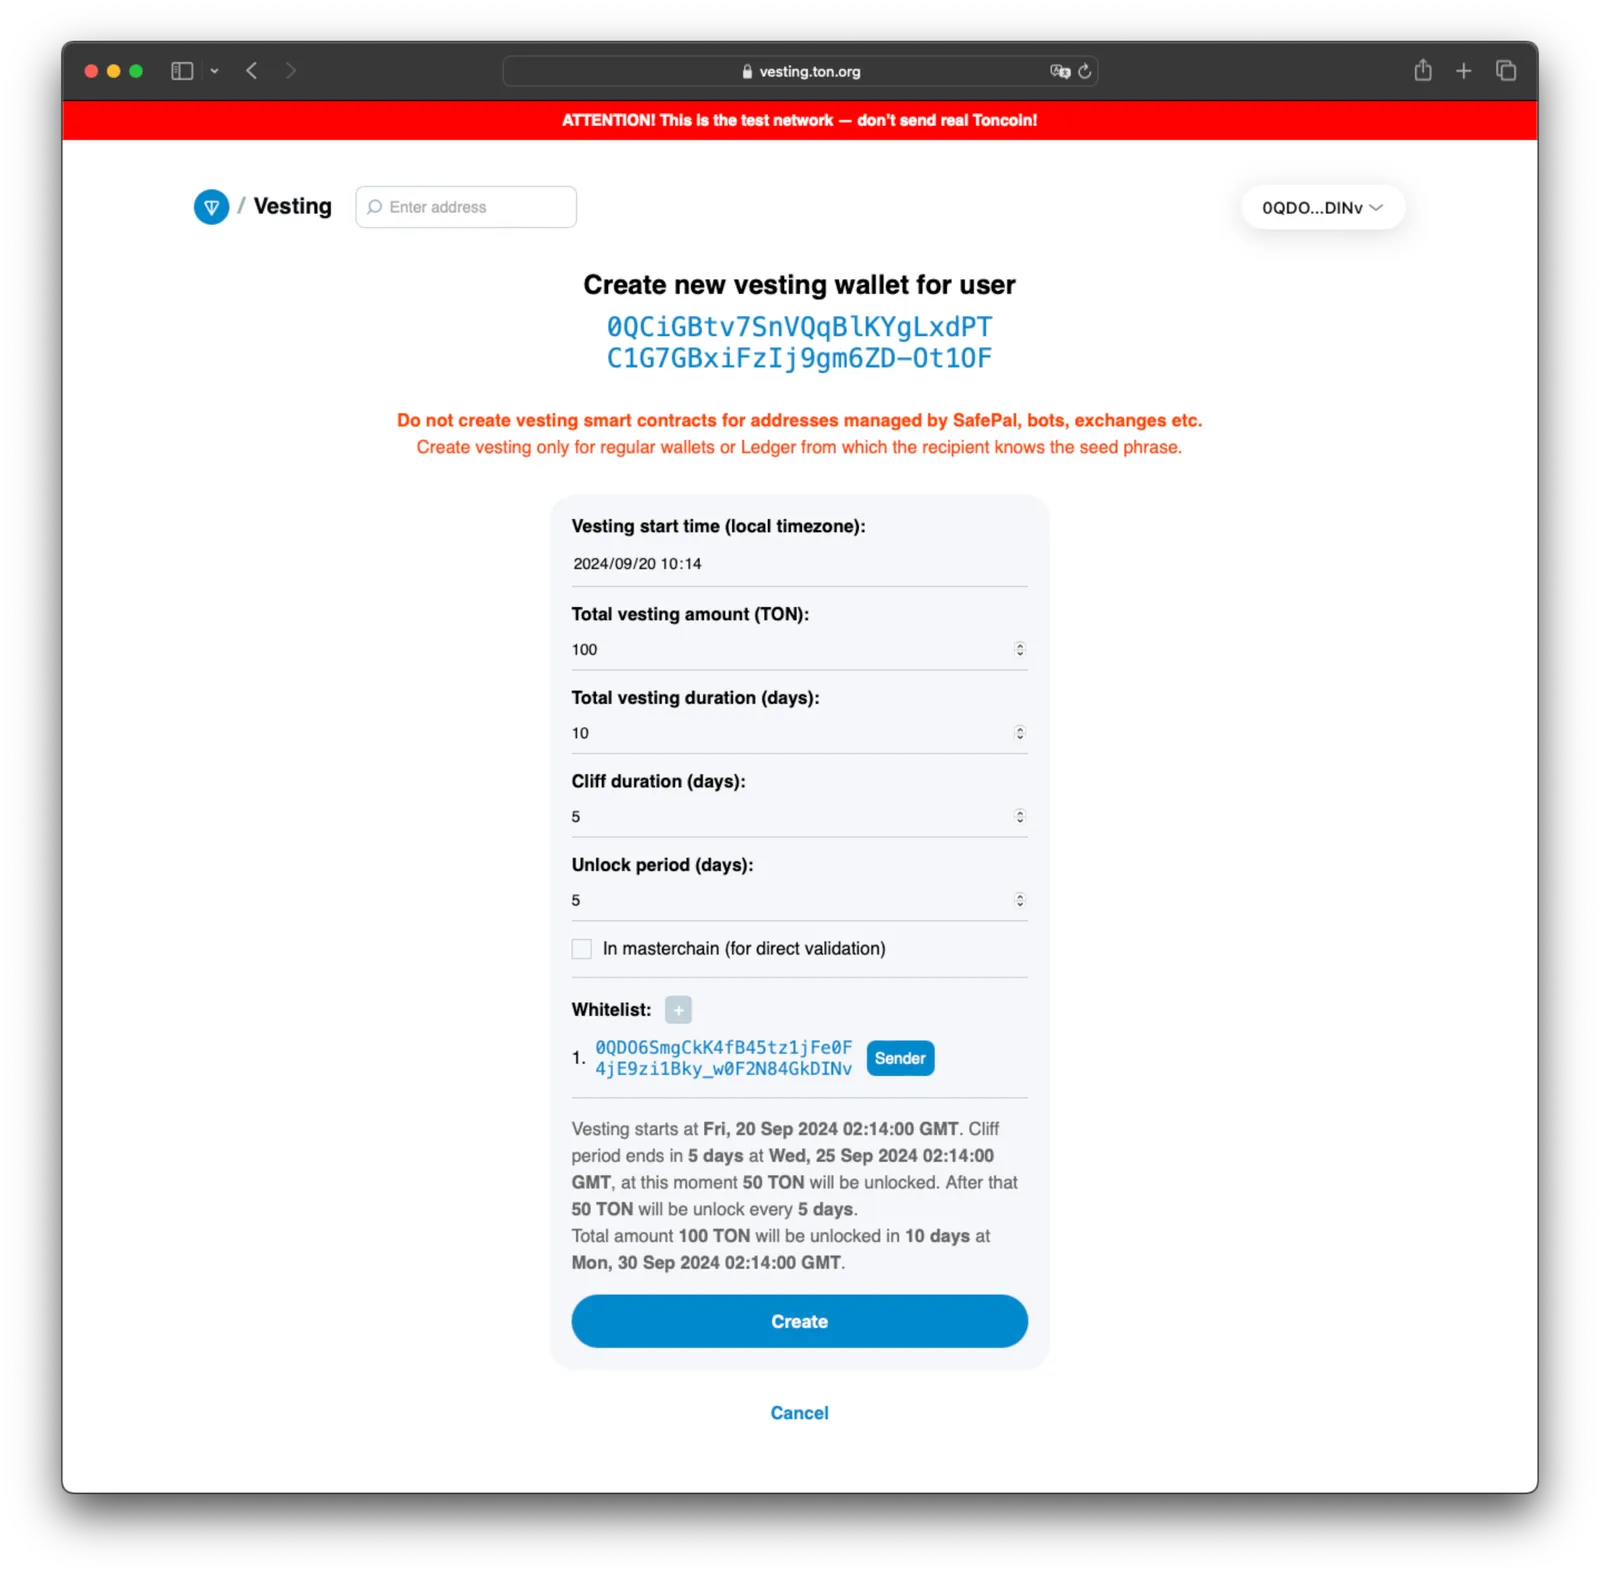 The website will output a human readable version for all the parameters:
Vesting starts at Fri, 20 Sep 2024 02:14
GMT. Cliff period ends in 5 days at Wed, 25 Sep 2024 02:14 GMT, at this moment 50 TON will be unlocked. After that 50 TON will be unlock every 5 days. Total amount 100 TON will be unlocked in 10 days at Mon, 30 Sep 2024 02:14 GMT.
Essentially: Token will be locked for Total vesting duration days, after Cliff duration days, half of the token will be unlocked, then every Unlock period days, (Total vesting amount/2)/(Total vesting duration - Cliff duration) token will be unlocked.
- Click "Create", then confirm the contract call transaction in your wallet app.
2. Nominate with vesting contract
- Create a single nominator pool I assume that you already have a synced full node on the corresponding network environment, and the validator mode is activated, with sufficient balance in validator wallet (~200TON per month for validator to cover the transaction fees, this is NOT the minimum stake amount), if not, please checkout the official doc on how to run a full node: https://docs.ton.org/participate/run-nodes/full-node, and how to activate validator mode: https://docs.ton.org/participate/run-nodes/become-validator.
Once everything is prepared, go to mytonctrl, for this doc, I assume that this is freshly synced validator node, with only the validator mode is enabled: 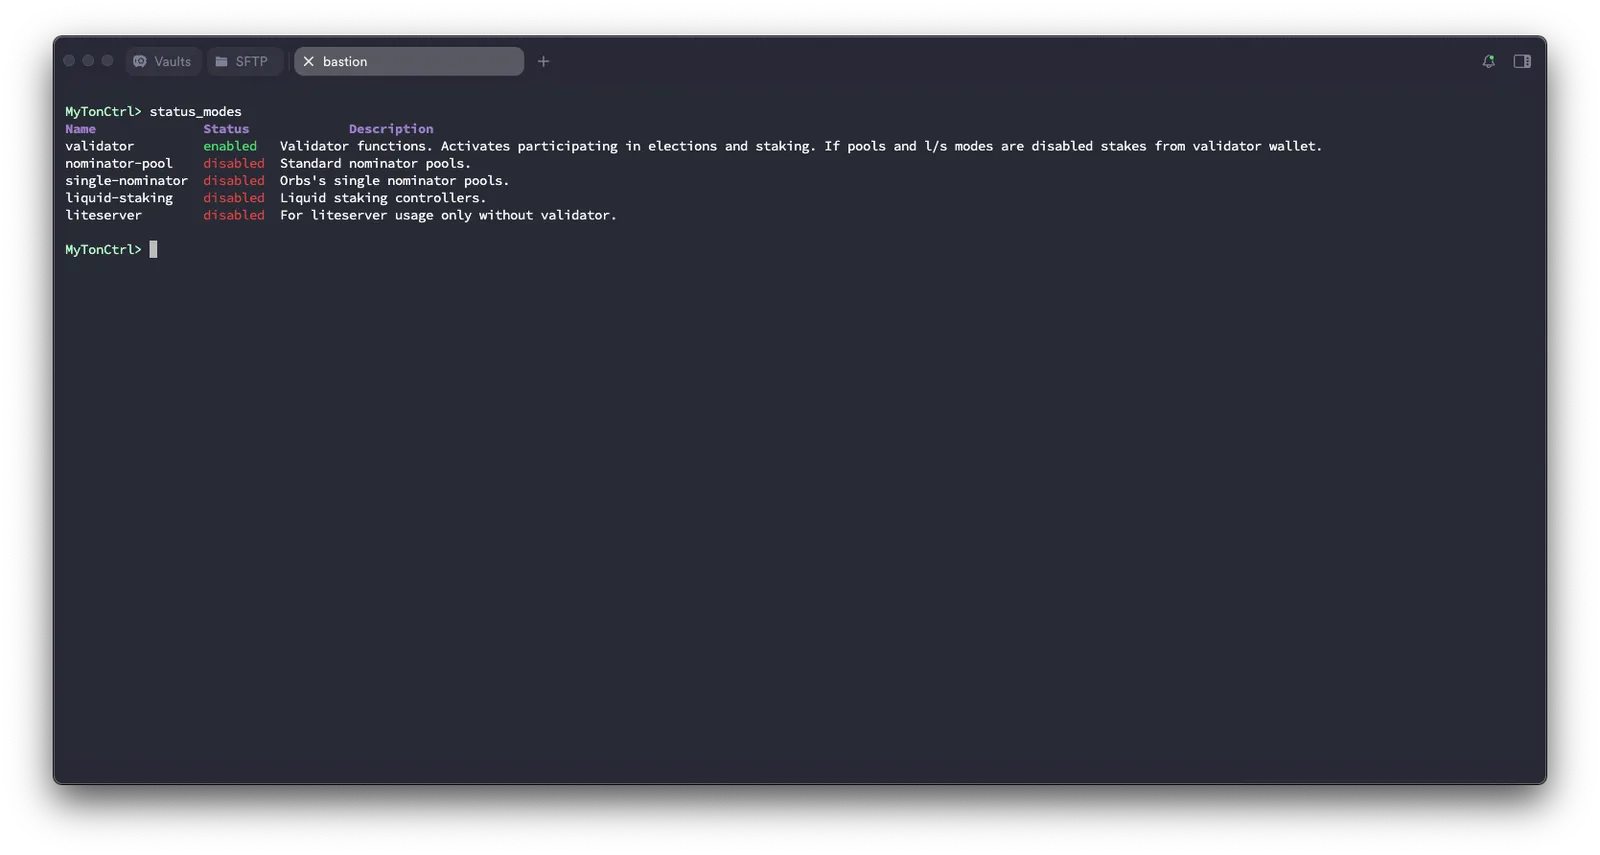
Then, you should follow the official doc to create a single nominator pool and activate it: https://docs.ton.org/participate/network-maintenance/single-nominator
In short, it requires you to run the following command
enable_mode single-nominator
new_single_pool <pool-name> <owner_address, in our case, vesting contract address>
activate_single_pool <pool-name>
After everything is executed successfully, type in pools_list to make sure that the pool is activated: 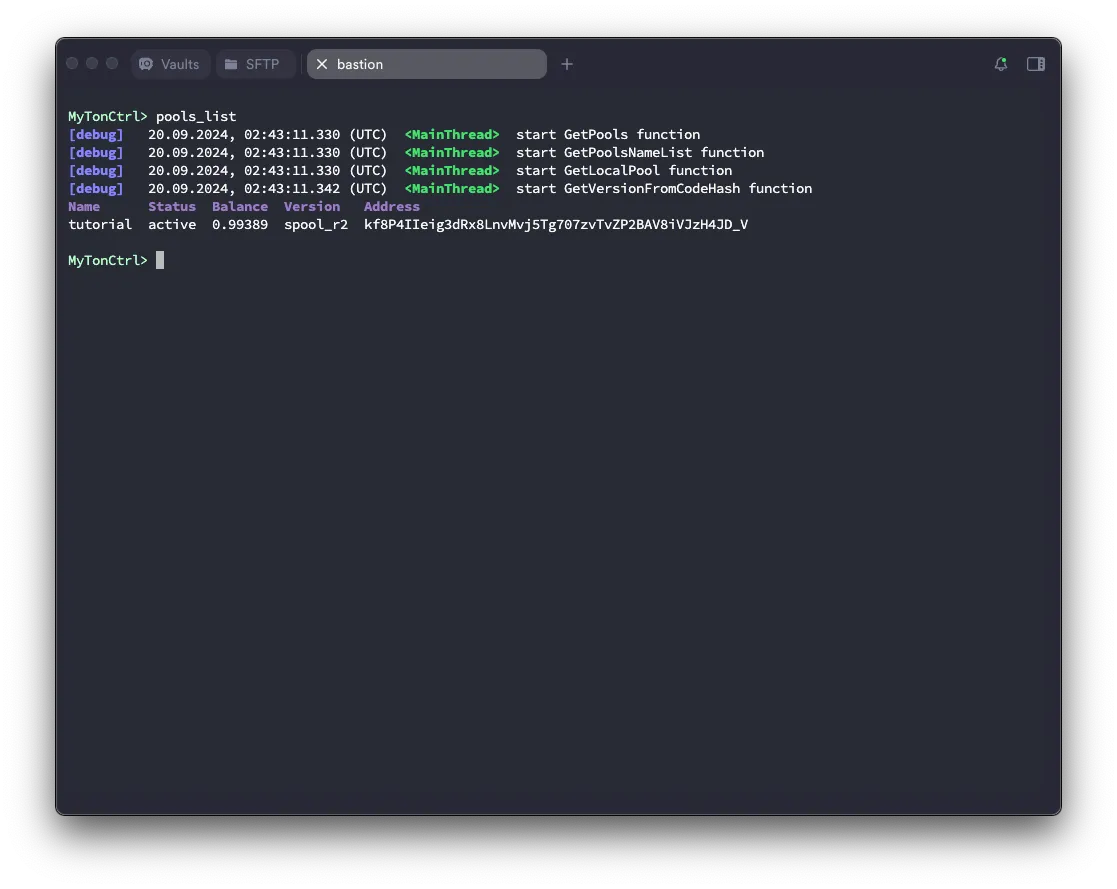
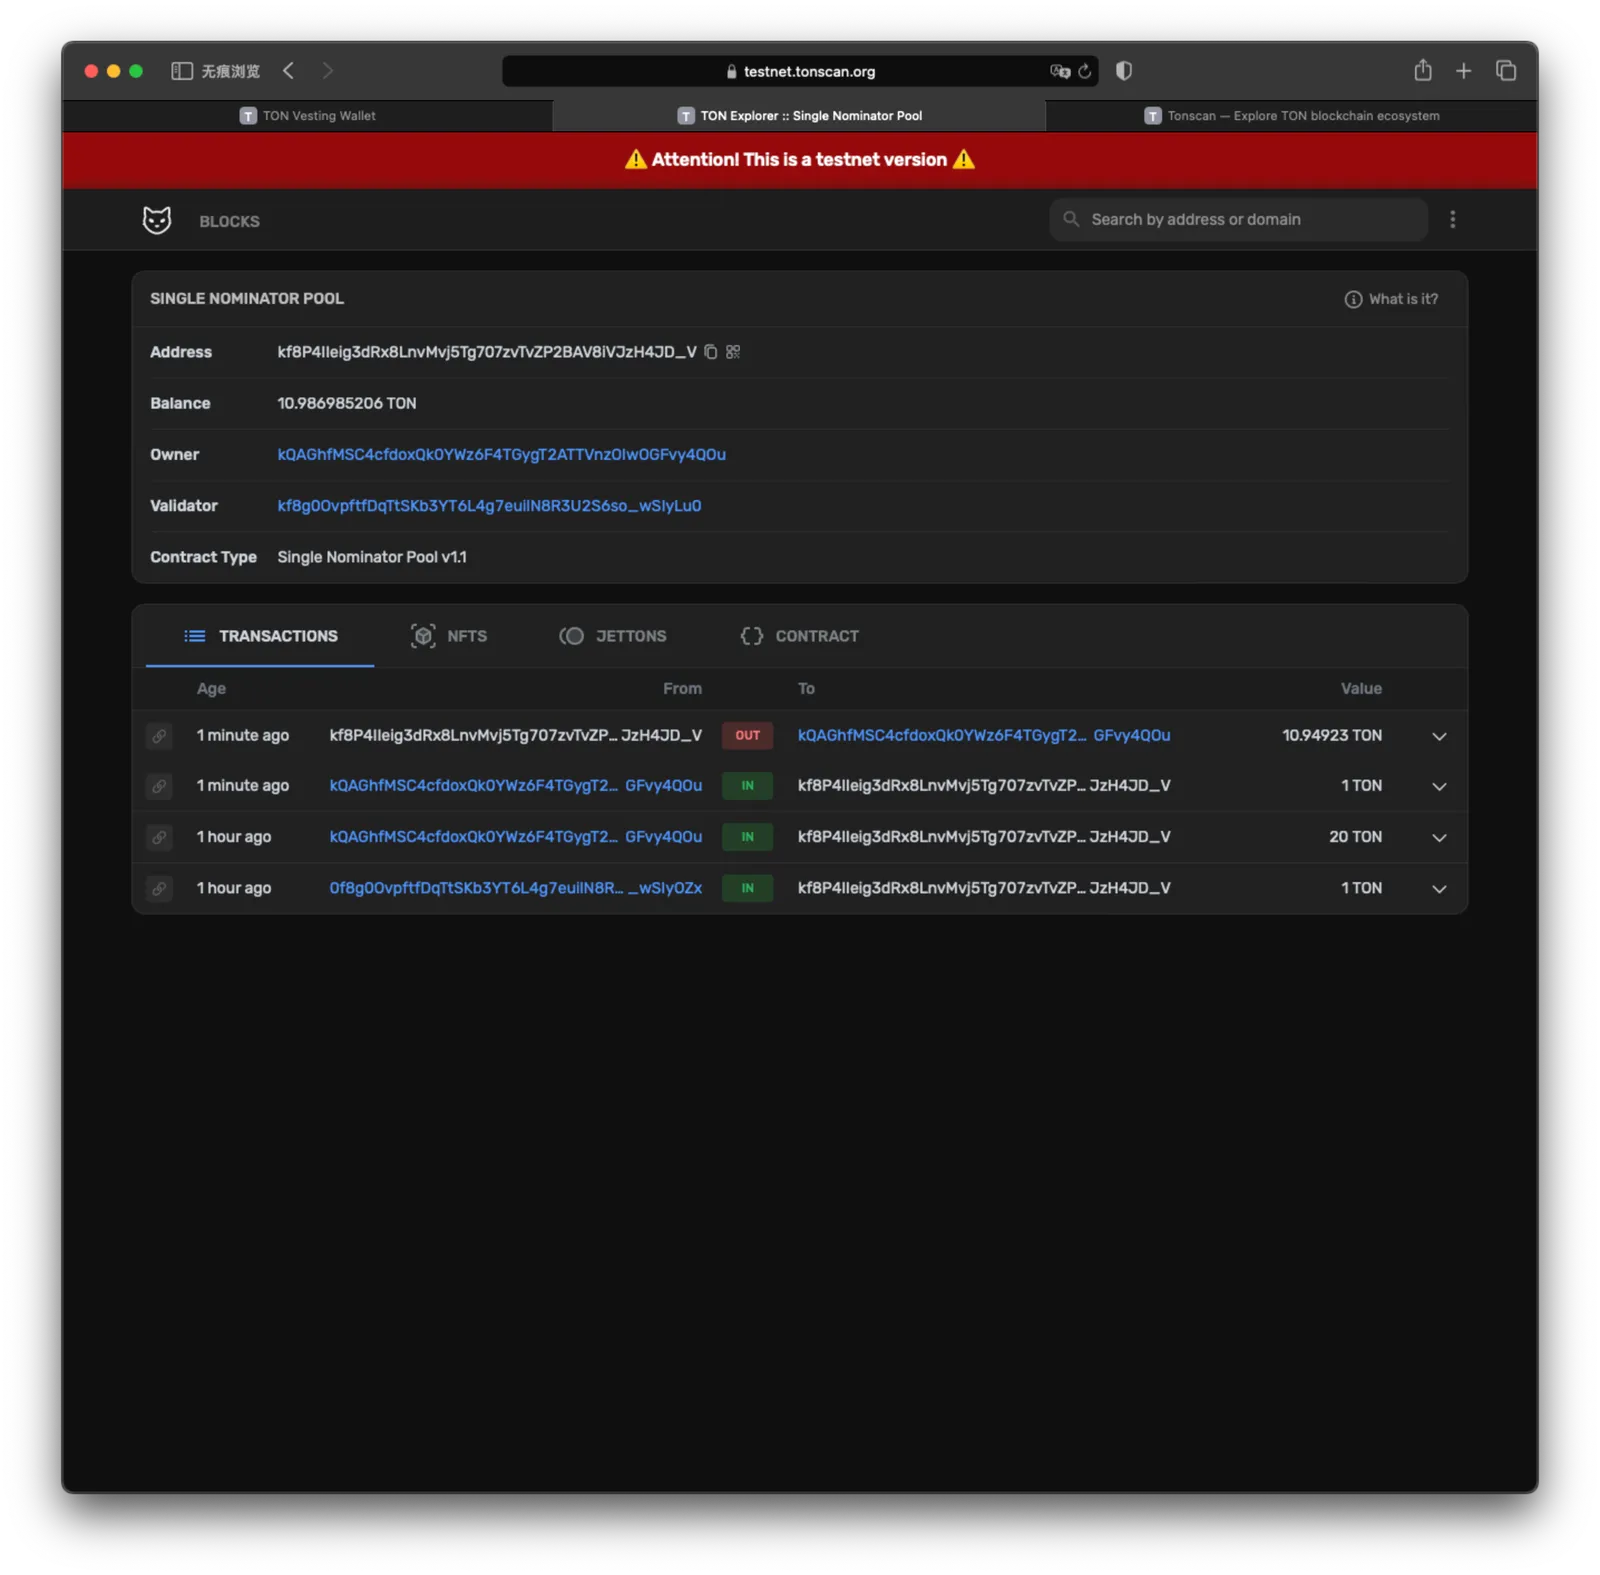
In our example, kf8P4IIeig3dRx8LnvMvj5Tg707zvTvZP2BAV8iVJzH4JD_V is the single nominator pool address.
- Add single nominator pool address to vesting whitelist You must complete this step to allow the vesting contract to send any token to your single nominator pool. More about vesting whitelist can be found at: https://github.com/ton-blockchain/vesting-contract?tab=readme-ov-file#whitelist-restrictions
Ask the vesting creator/sender to do this for you, which should also verify the single nominator pool info is correct, specifically, owner should be your vesting contract wallet address, validator should be the local validator wallet of node that is running the single nominator pool. 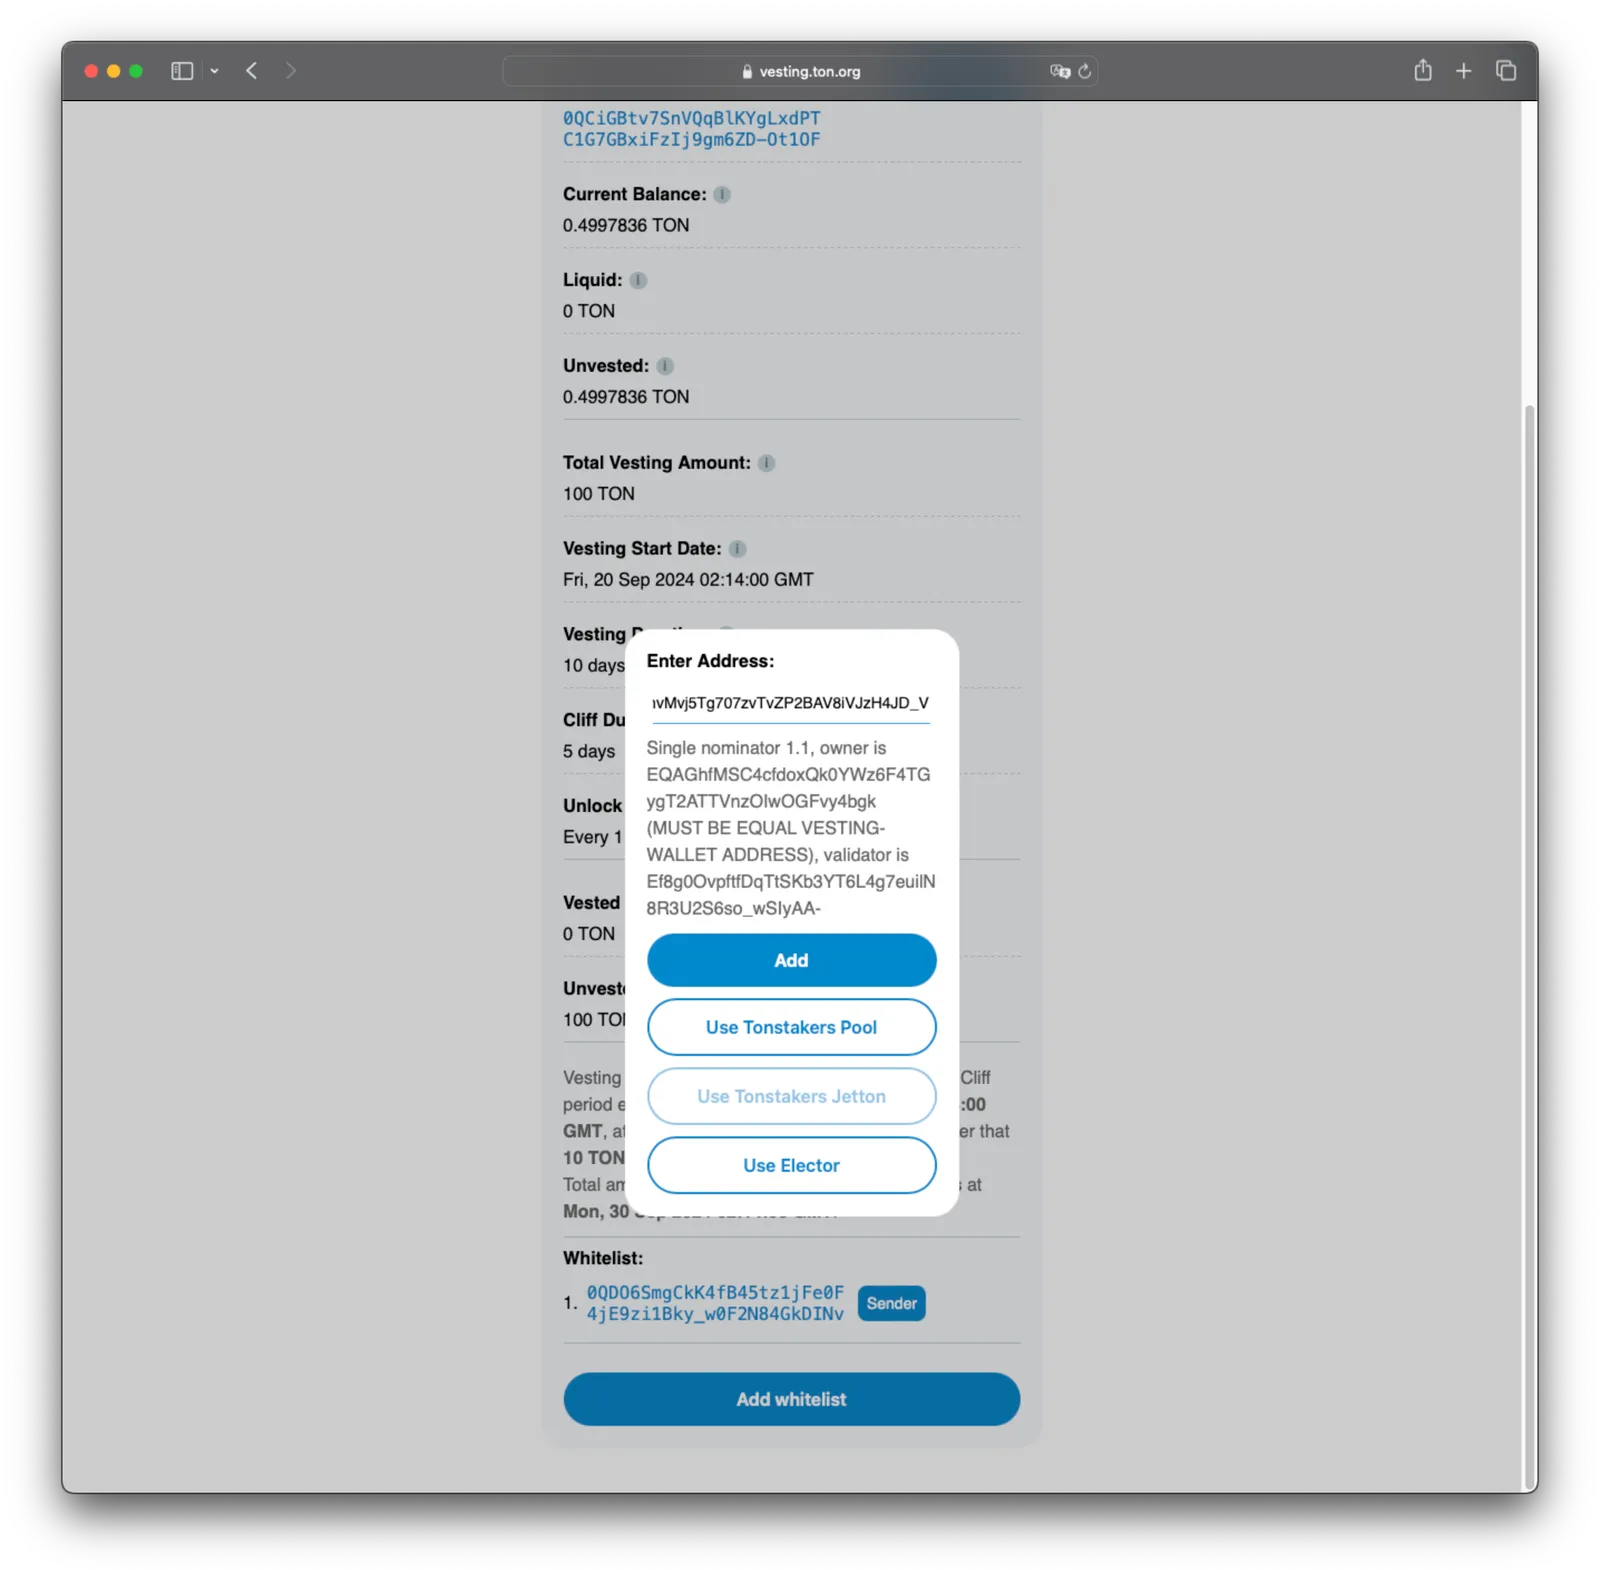
After clicking add and confirming the contract call transaction as well as a small delay, you should see the single nominator pool address show up in the whitelist section: 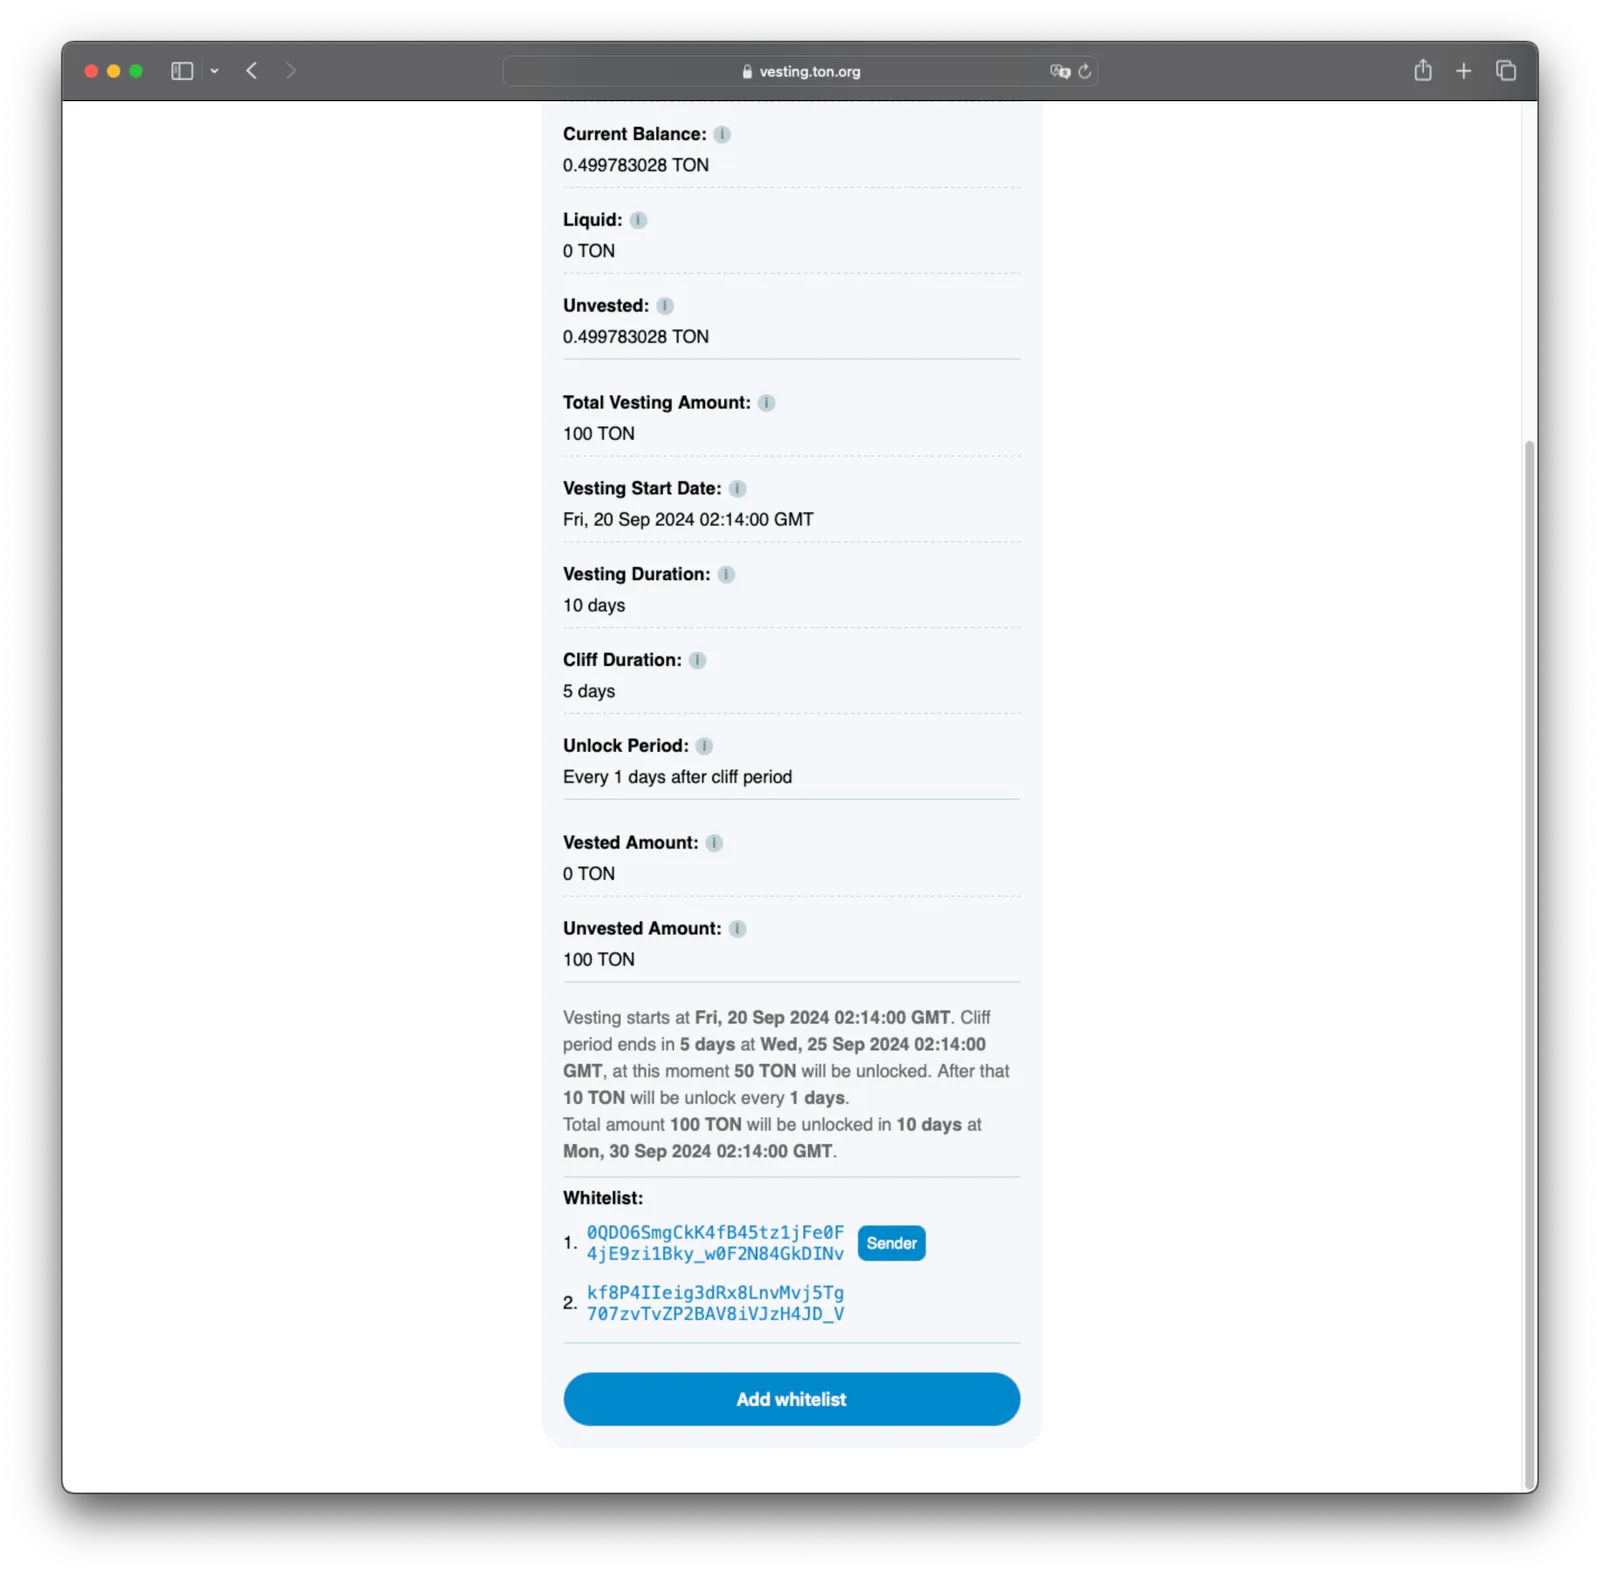
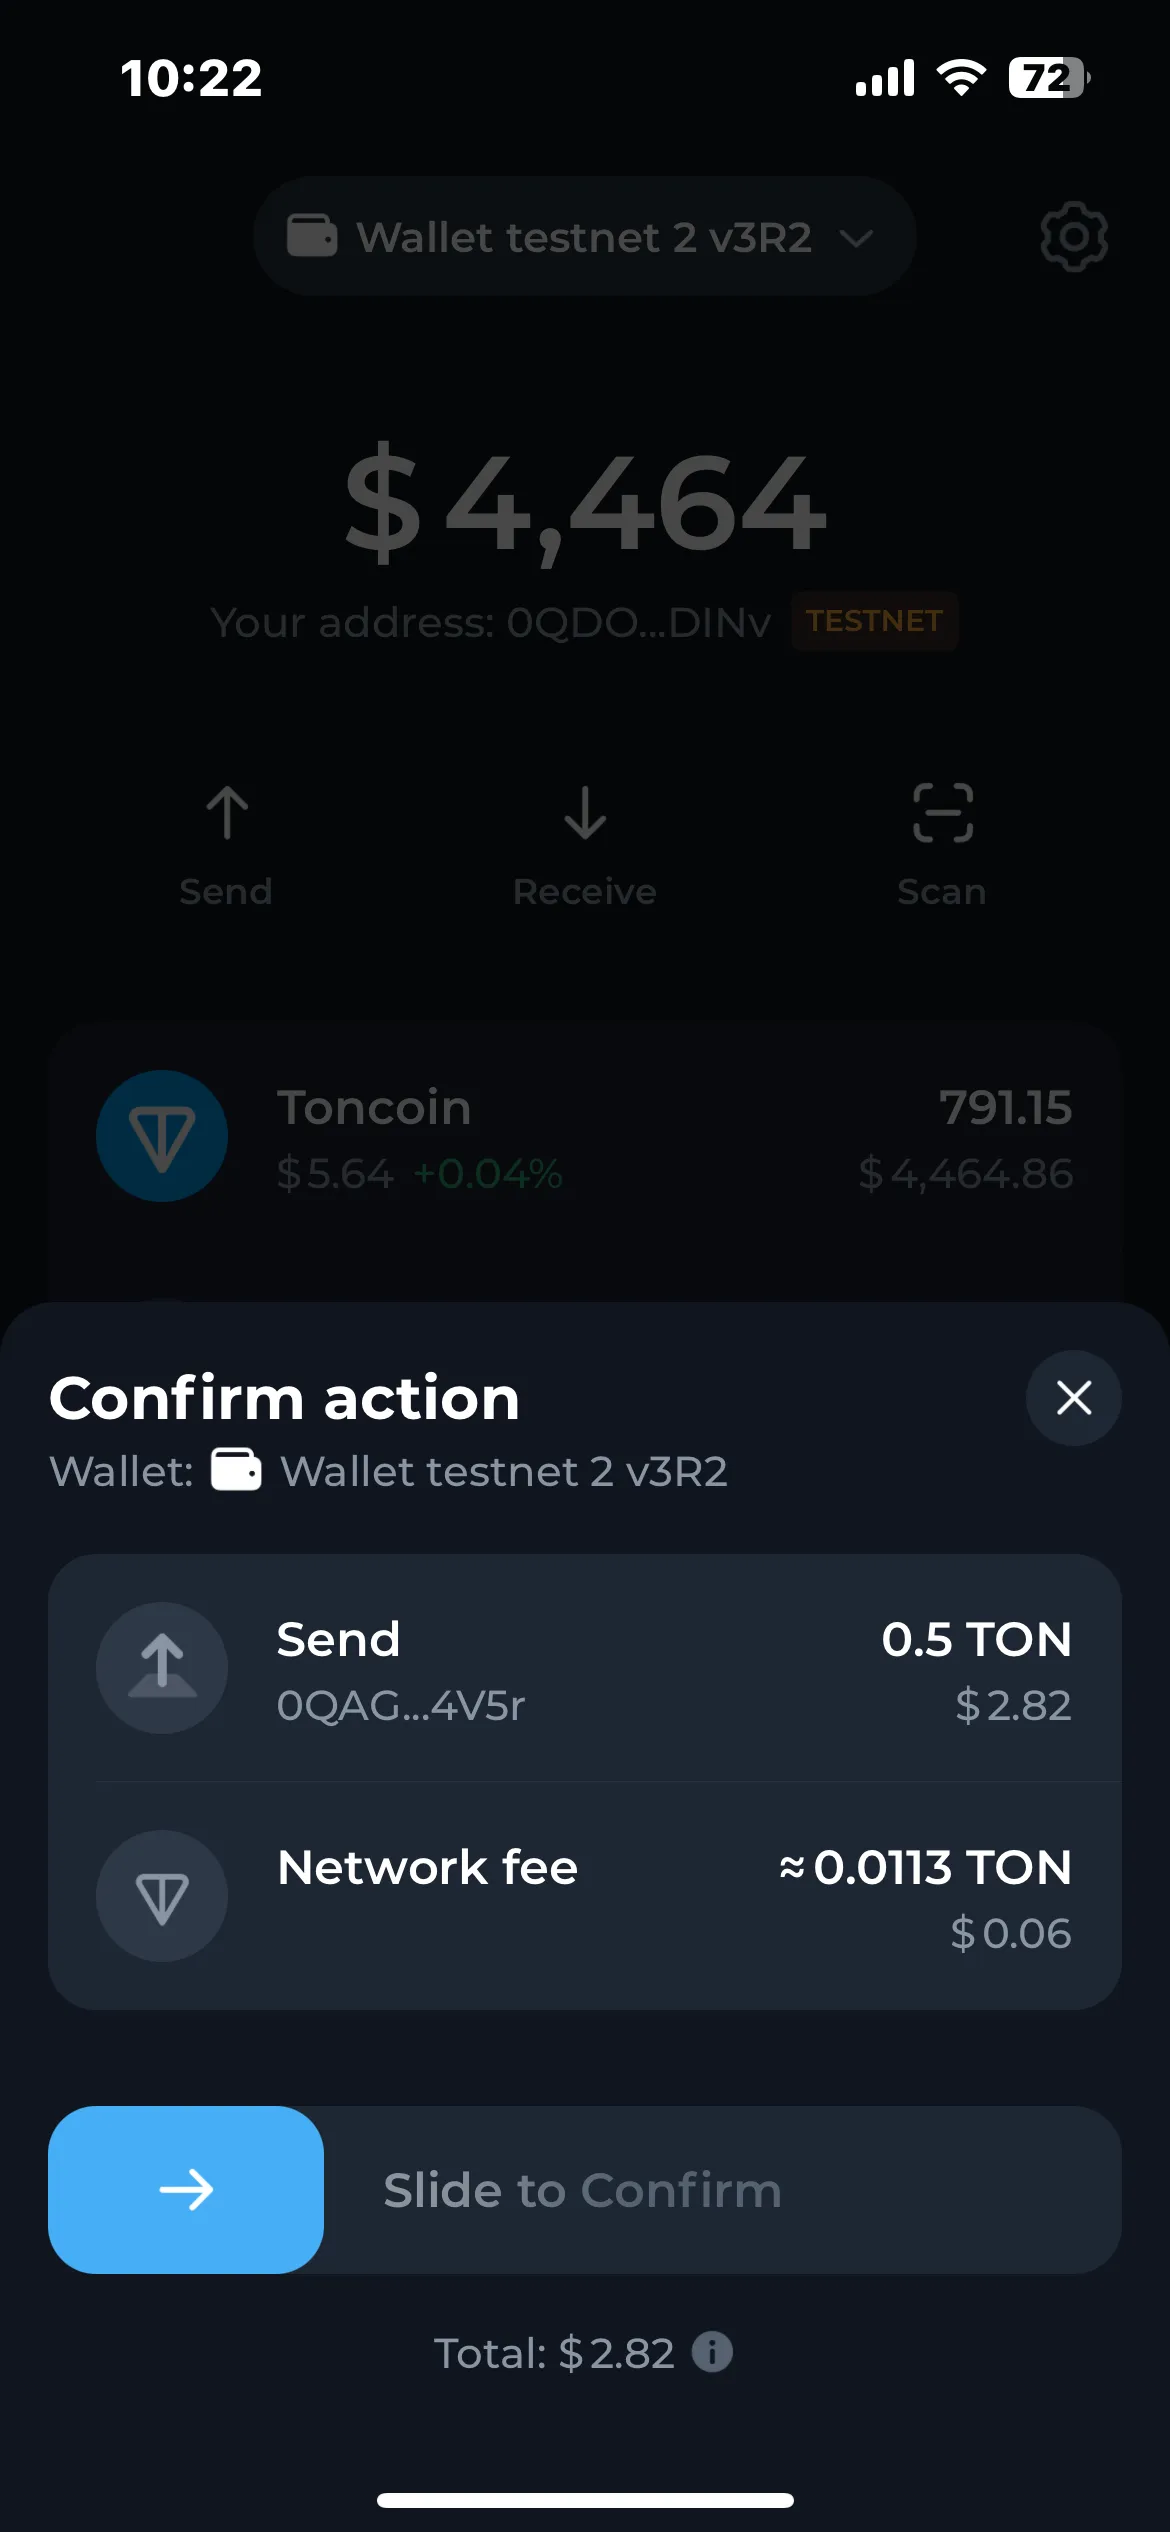
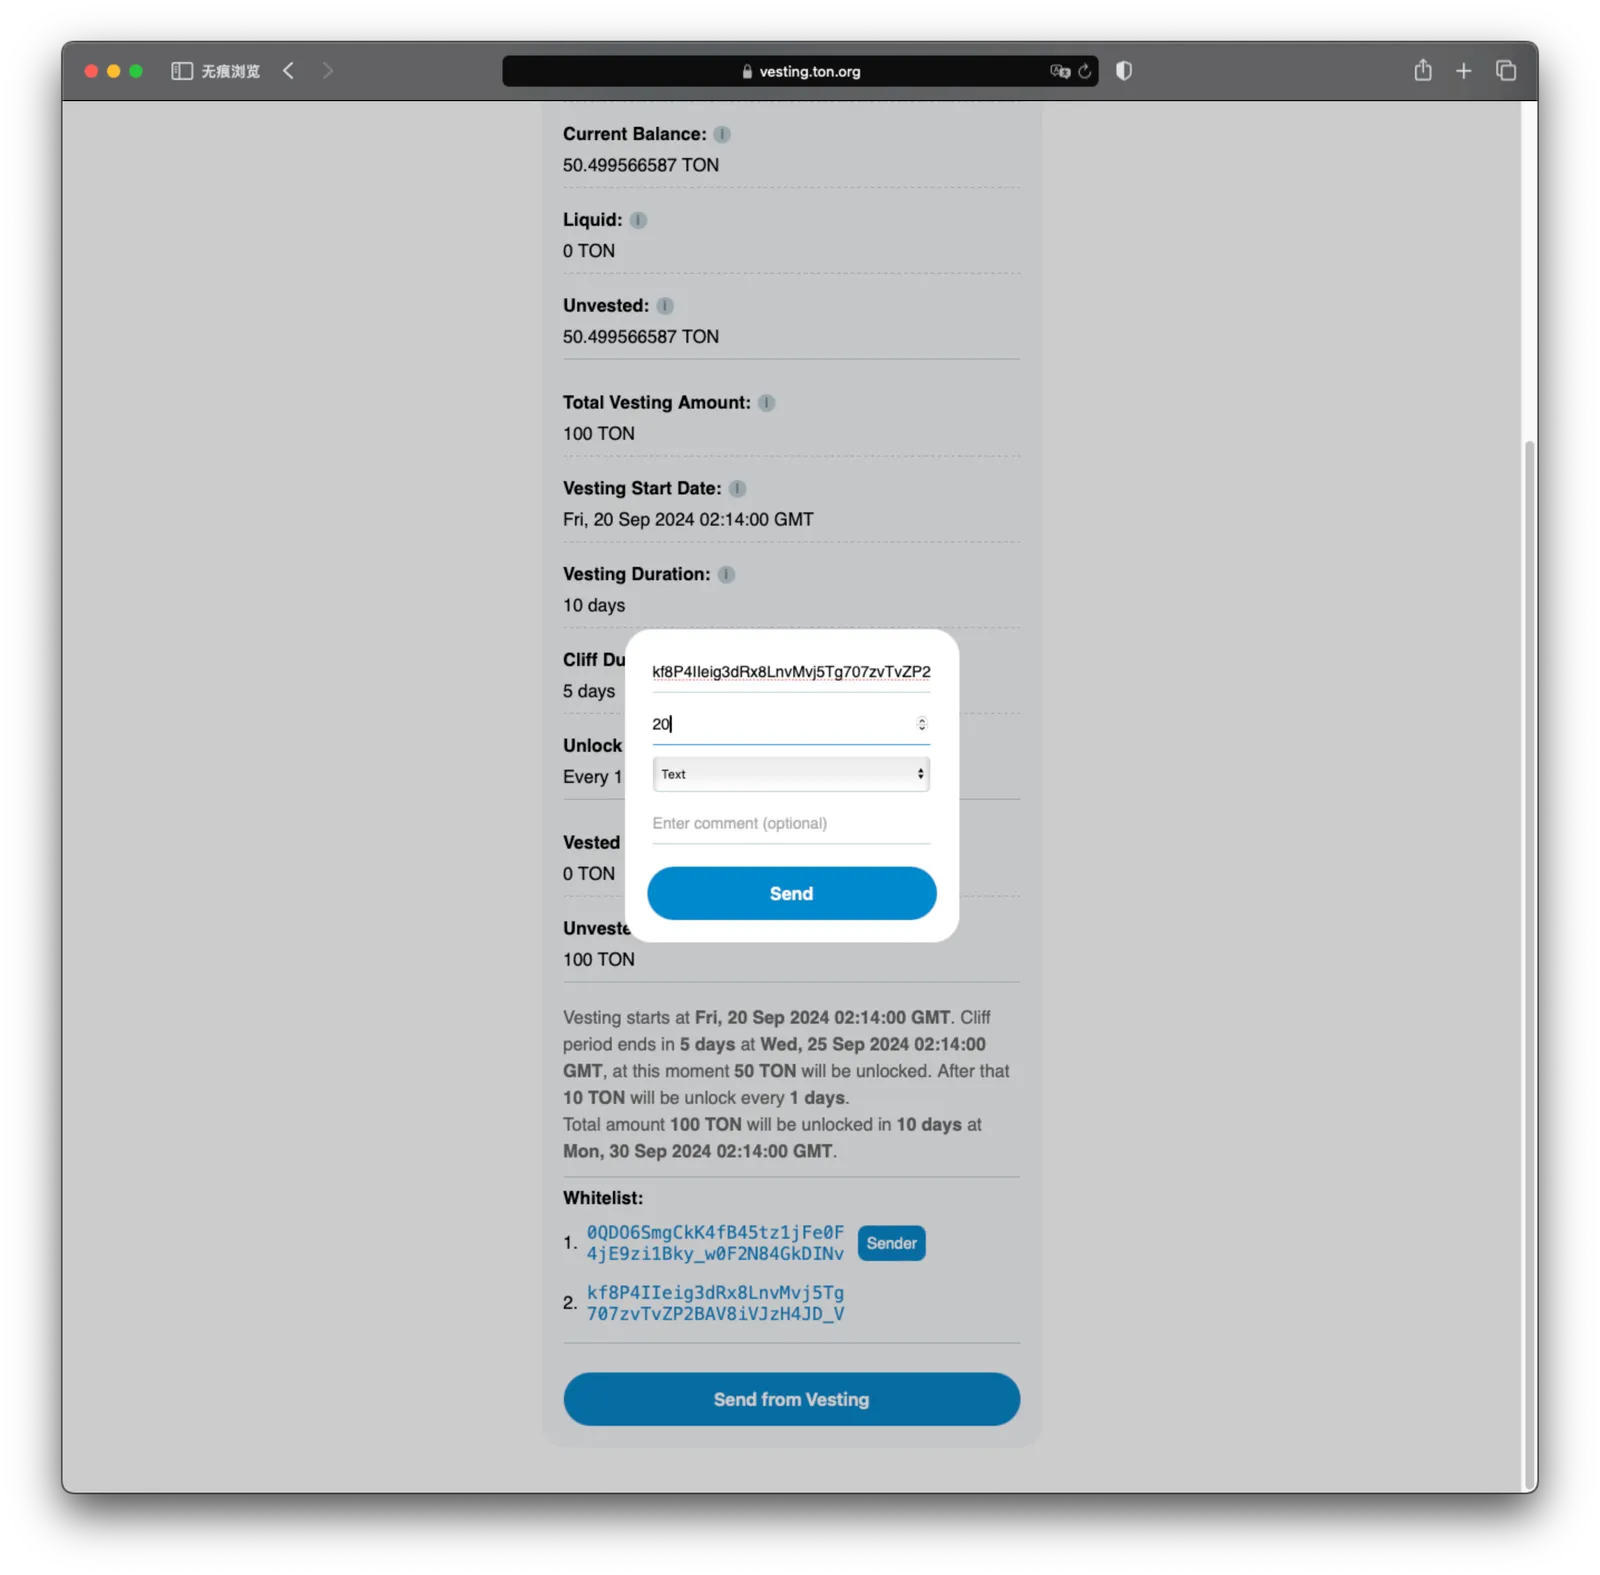
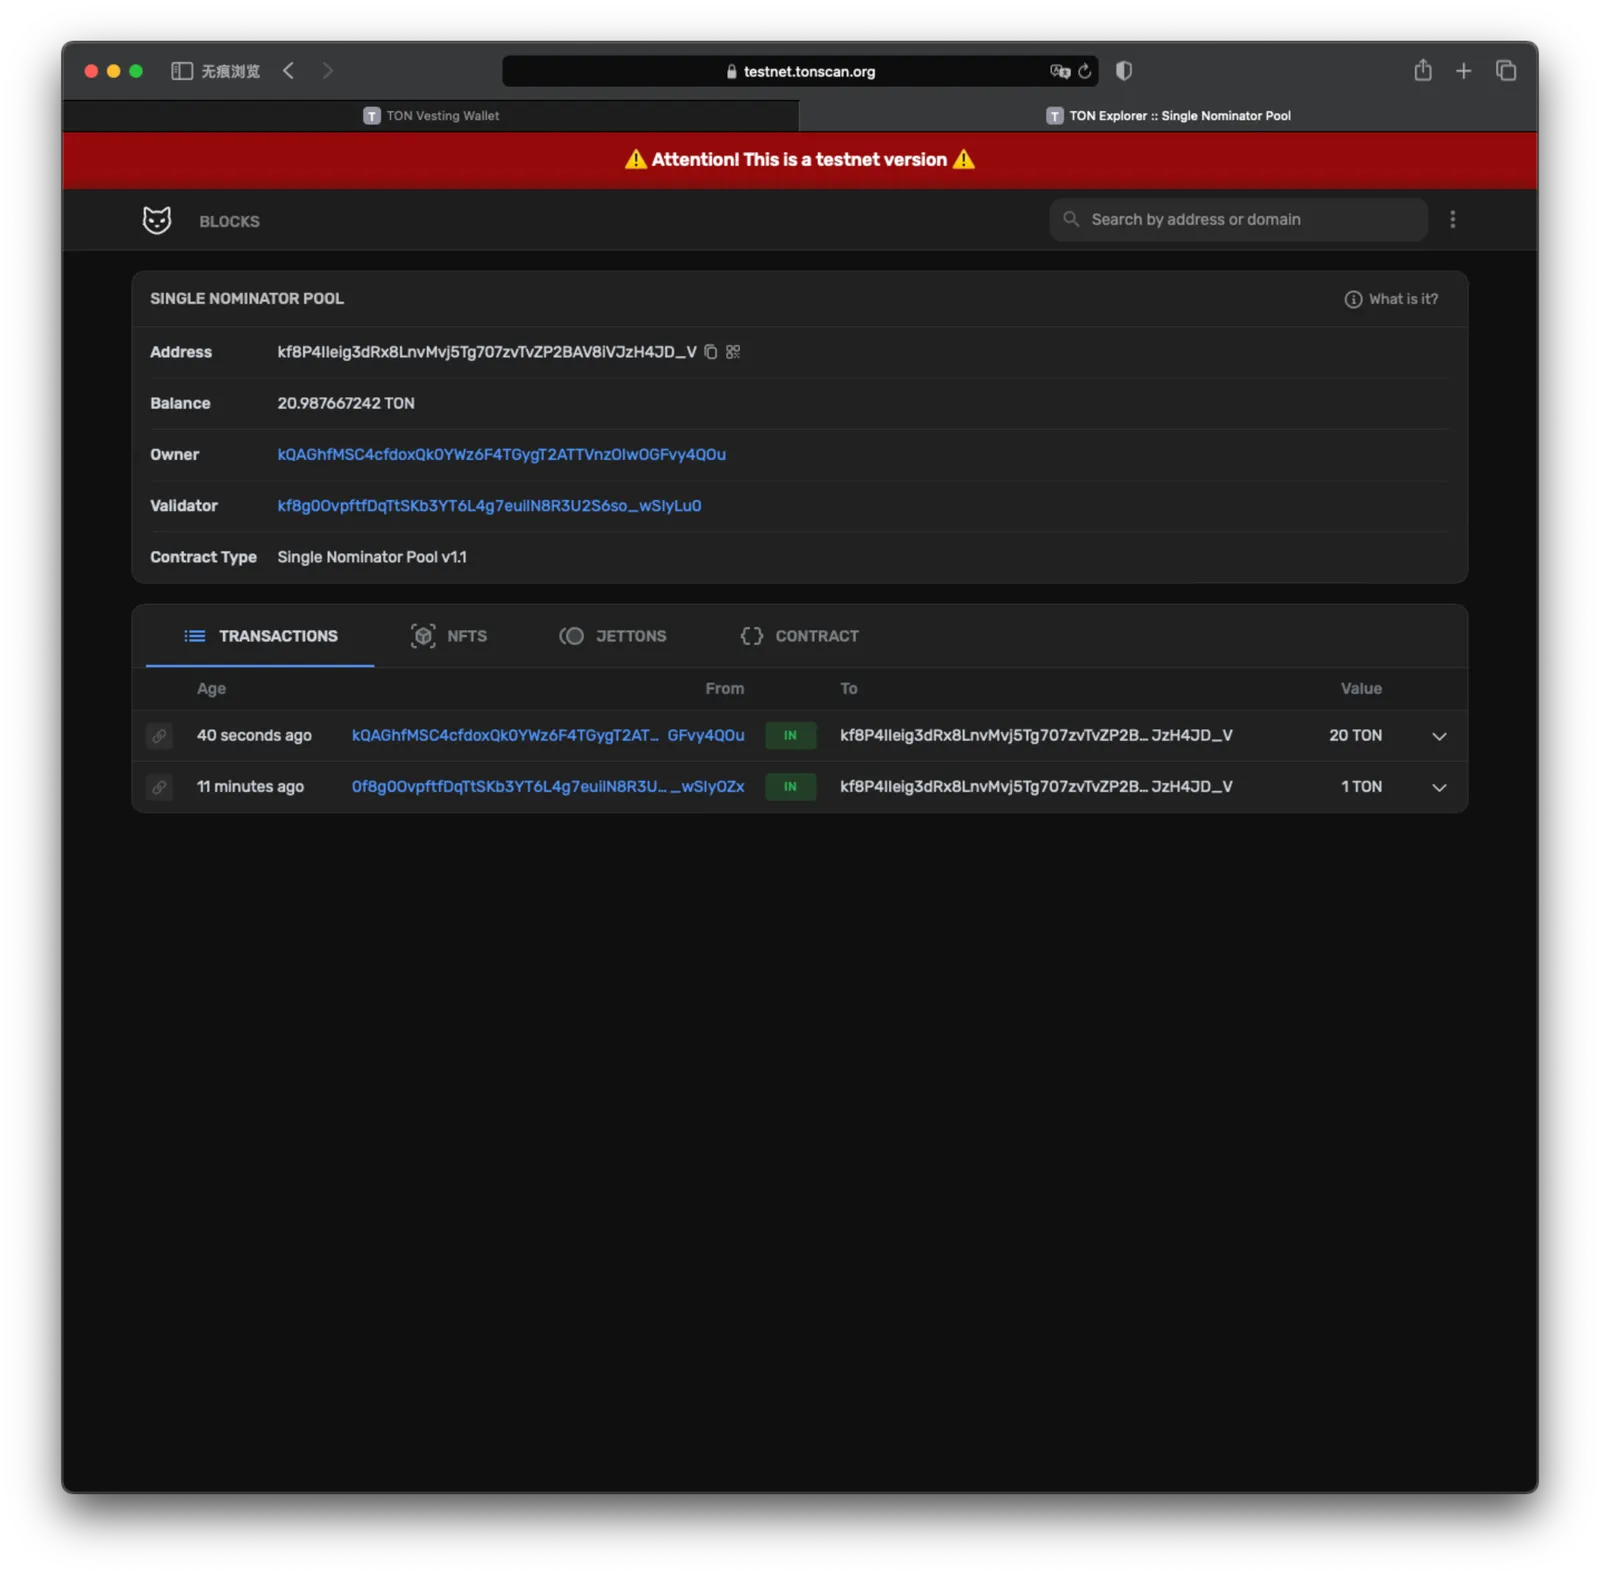
- Stake token to single nominator pool For single nominator pool, staking token is as simple as sending token to single nominator pool, e.g.:
- Withdraw token from single nominator pool This step requires you to download the single nominator pool repo:
git clone https://github.com/orbs-network/single-nominator
cd single-nominator
npx ts-node@v10.7.0 scripts/ts/withdraw-deeplink.ts <single_nominator_pool_address> <withdraw amount>
This would generate you a deeplink, which contains a payload after ?bin=, i.e. te6cckEBAQEAFAAAIwAAEAAAAAAAAAAAAVAlQL5ACJyOKxw, as an example. 
Now, we need to copy this payload, and get back the vesting manager, start a transaction:
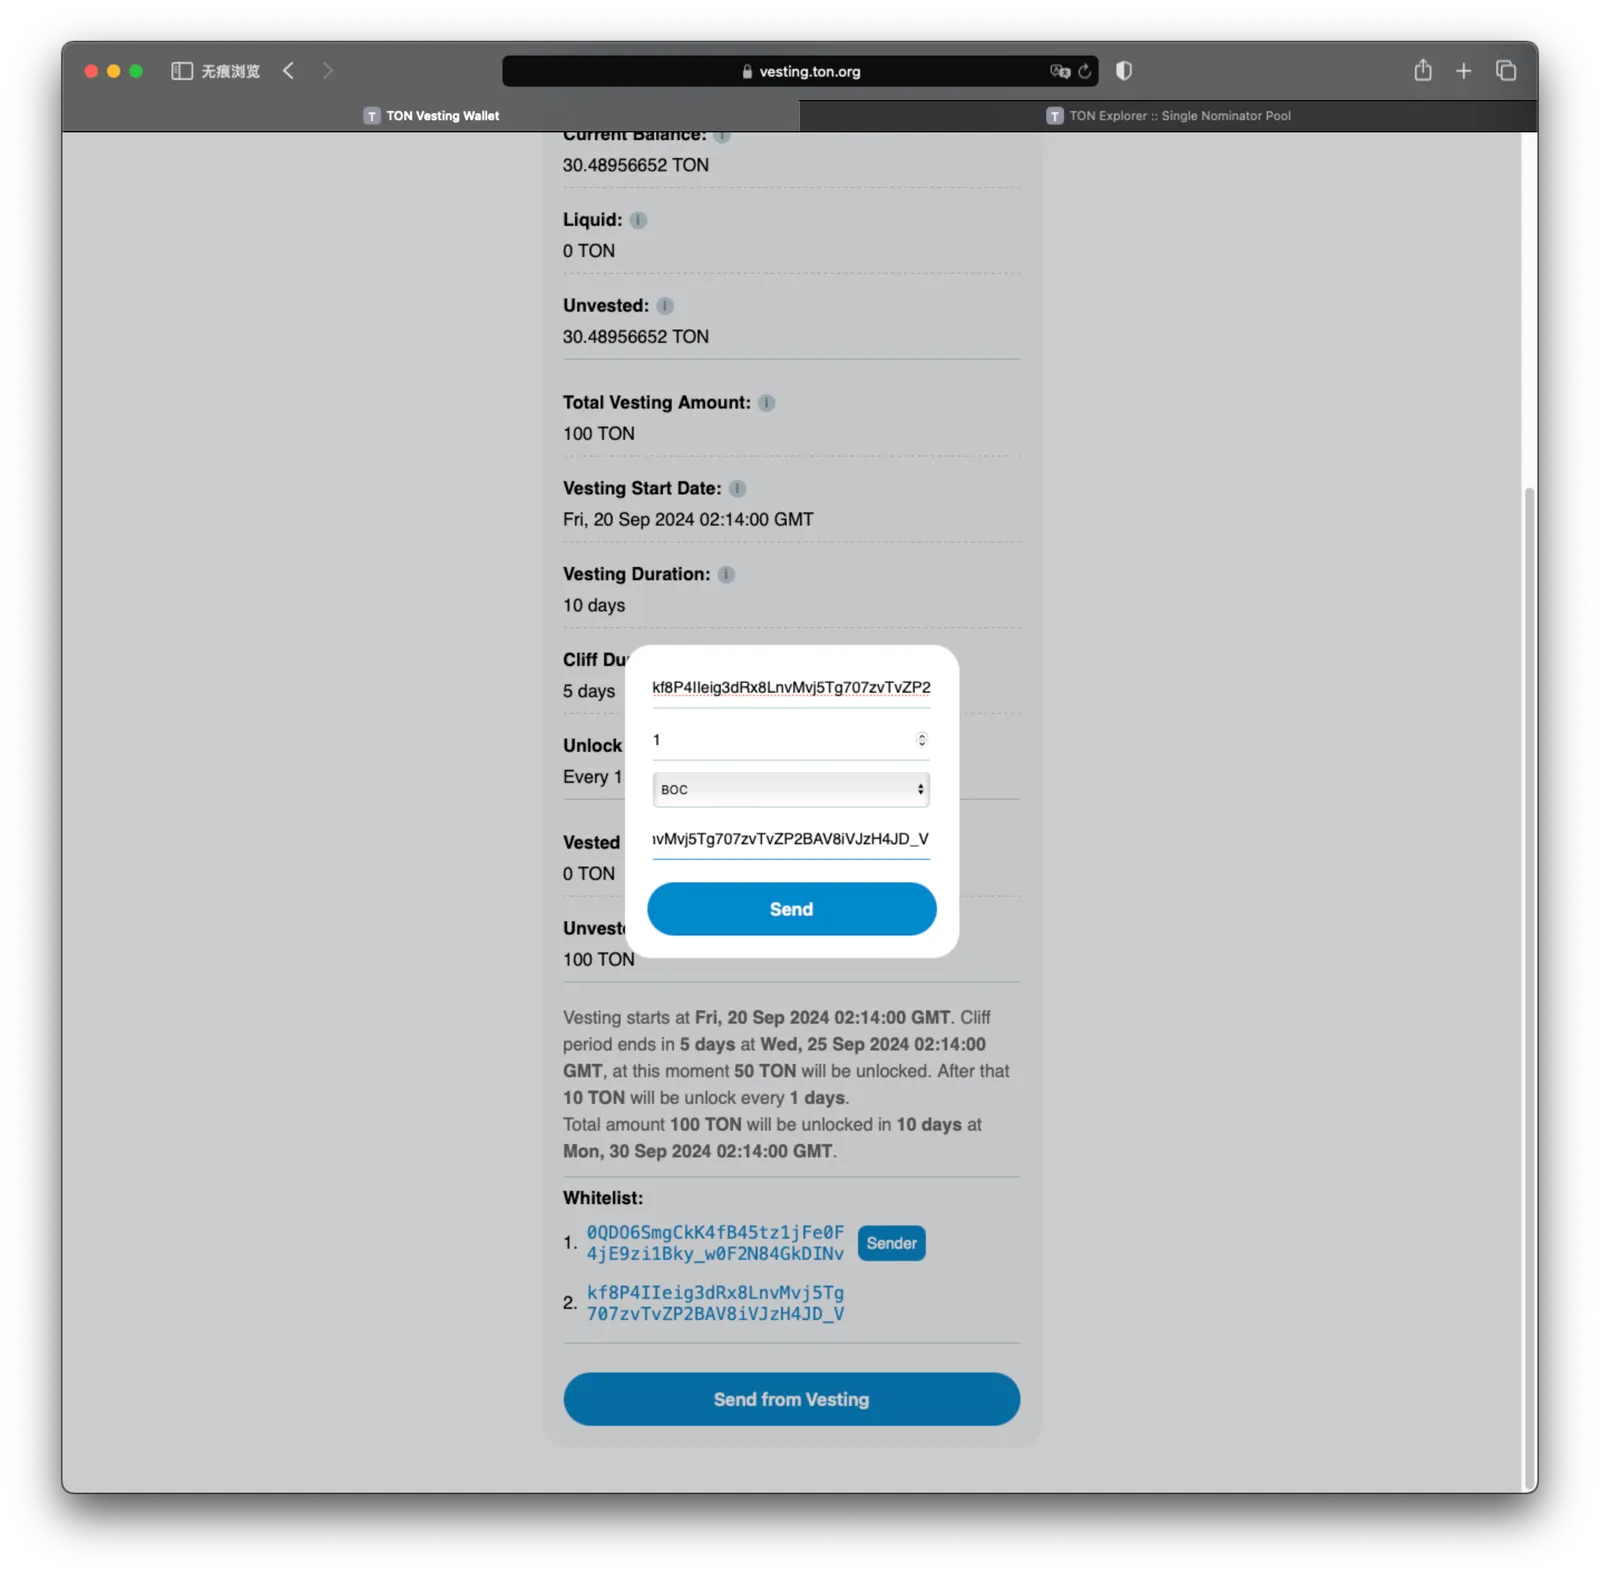
Click send, confirm on your wallet app, and wait for a bit, you should now be able to find the withdraw transaction from single nominator pool (withdraw amount + withdraw contract call fee (1 TON)):